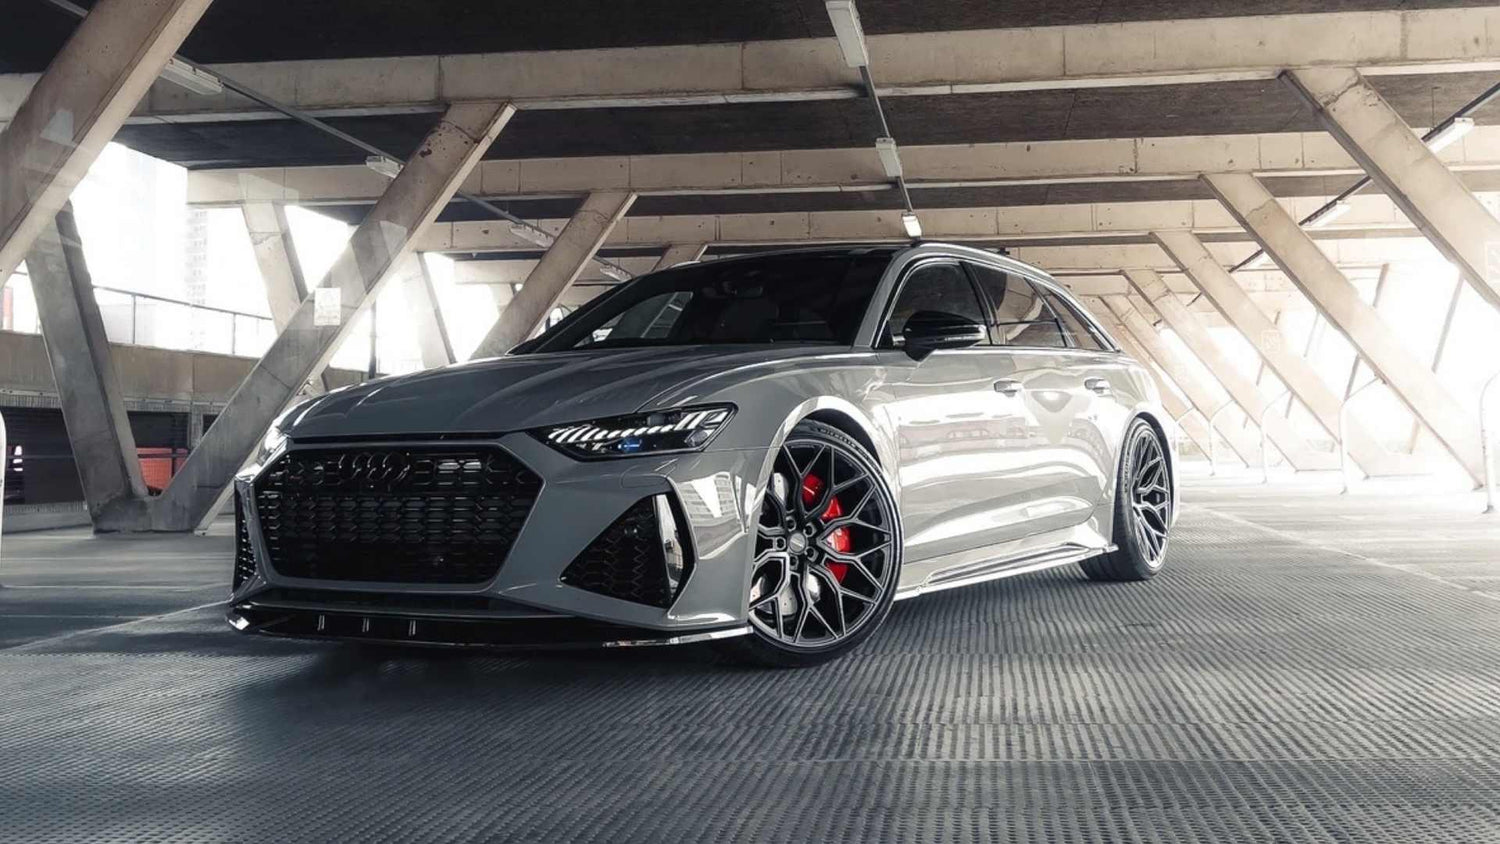
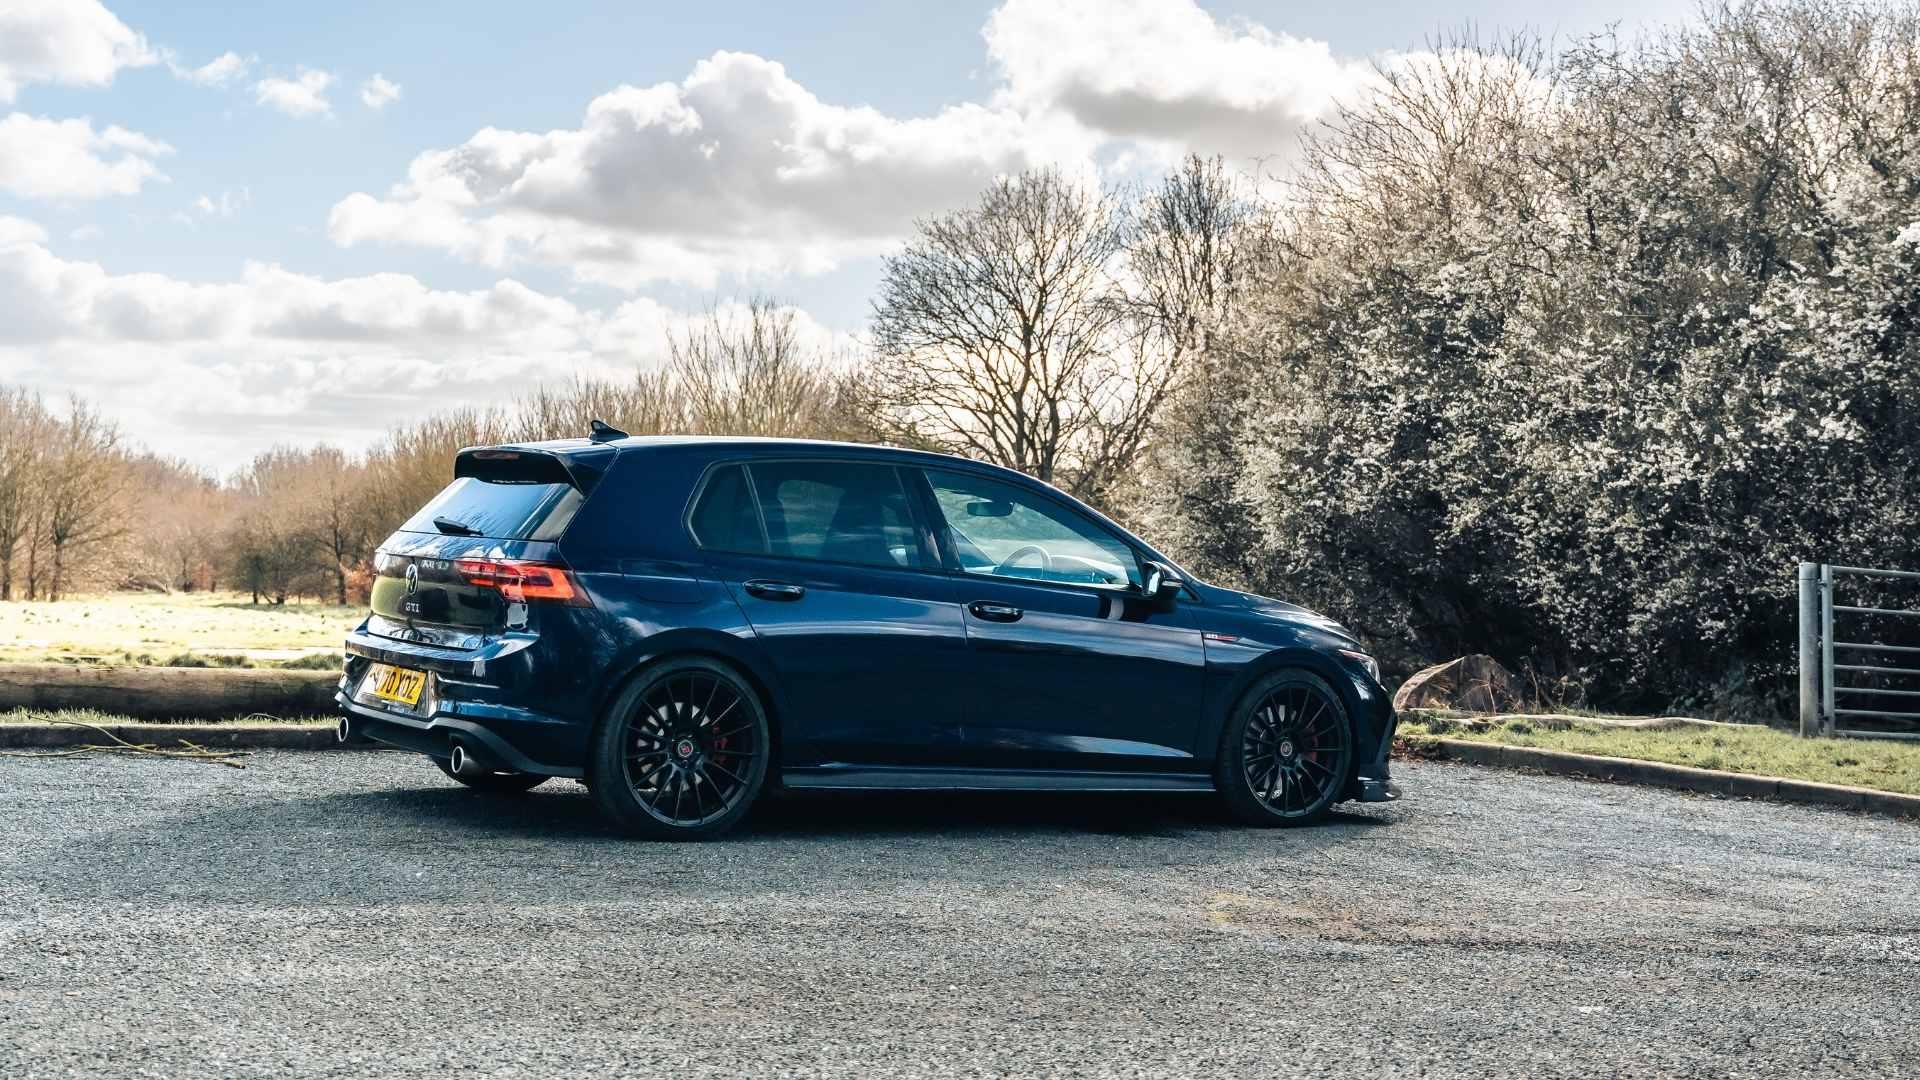
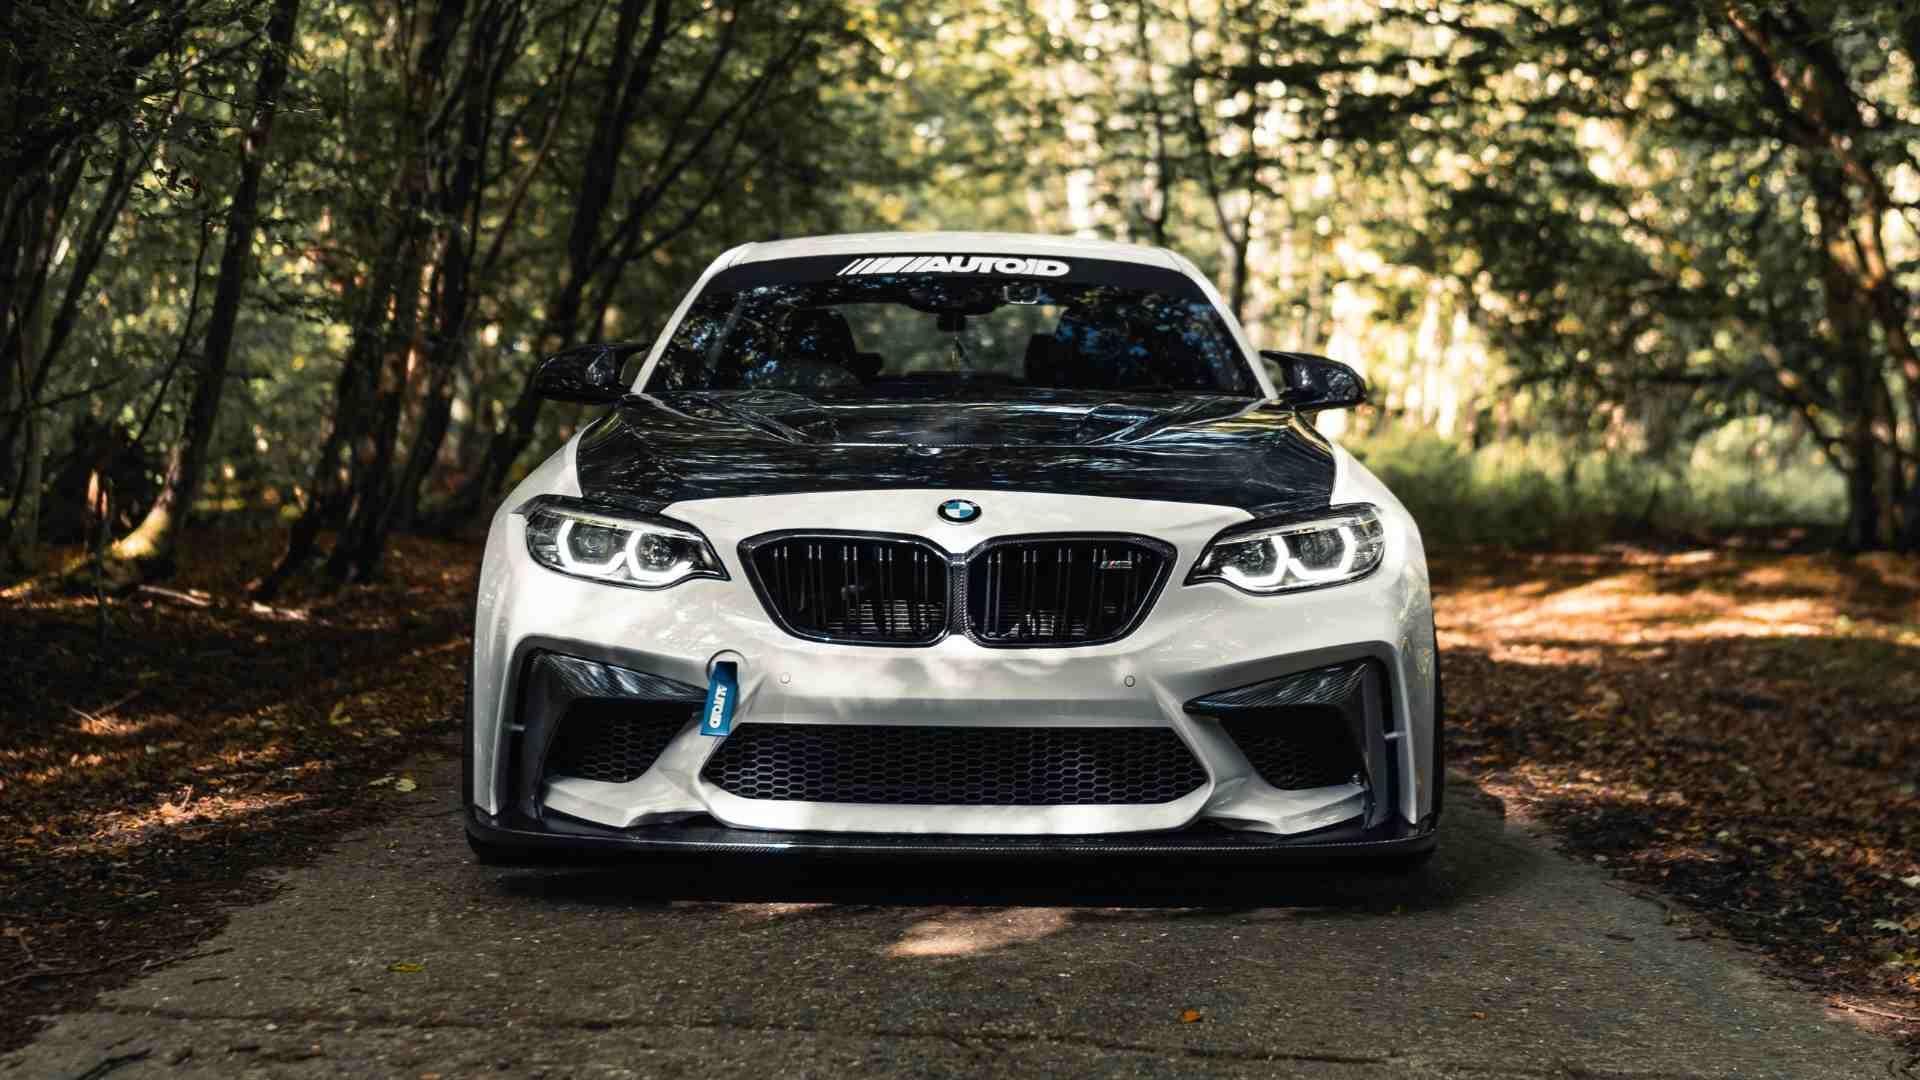
At AUTOID we're lucky enough to have a content creator and photographer who has a professional standard camera. The reality is not everyone has access to one and not only that but with modern iphone cameras you are able to produce just as good content using nothing but your phone.
Our own photographer @Rtwenty3 uses his phone to get some unbelievable shots, exhibit A:

Here's how to get the perfect car photos:
1. Have a phone with a decent camera

Having the right tools to do the job is always important. To get the best results you want the highest quality phone camera you can get. Ideally, we recommend an iphone, specifically the 12 Pro or any model that was released after it. The iphone 12 Pro allows you to shoot in RAW (which basically means you can export a really high quality image) making it easier for you to edit the photo afterwards.
2. Buy a phone camera polariser

Buy a cheap polariser like this one from amazon. It makes a big difference by getting rid of any reflections in car windows. Just clip it over the lense as show in the photo above.
3. Utilise the photo grid

It might seem obvious, but making sure your car is in the c entre on the shot is important to get a clean looking image. If you wanted to accentuate certain feature of your car like the rear end, get the right angle and centre it making sure everything is in focus by tapping the screen before you snap the photo.
4. Adjust the exposure

A typical mistake most people make when taking images with their phone is allowing natural light to overexpose the photo. The iphone has a nice feature which allows you to adjust how much light the camera allows into the shot. All you need to do is focus the image and drag the small sun up or down to tamper with the natural light.
5. Apply an iphone preset during editing

A version of Adobe lightroom is free on iphone, it's a great app for editing your images after you've followed all the steps above. To make thing easier for yourself, we'd recommend purchasing an RTWENTY3 Preset which will make the process a lot easier.
6. Play with other levels

Once you've applied the preset, you can have a play around with little tweaks to the image by making it more cool or warm toned, brightening it up or adding shadows until you get the effect you want.
7. You're ready to show them off

You've ended up with a super clean image of your car, now share it on social media, show it to you nan, get it printed on a canvas and hang it up on a wall...whatever you fancy.
You can watch the step by step video tutorial here:
Found this helpful? Make sure to tag @autoid and @rtwenty3 in your images.


Leave a comment
All comments are moderated before being published.
This site is protected by hCaptcha and the hCaptcha Privacy Policy and Terms of Service apply.